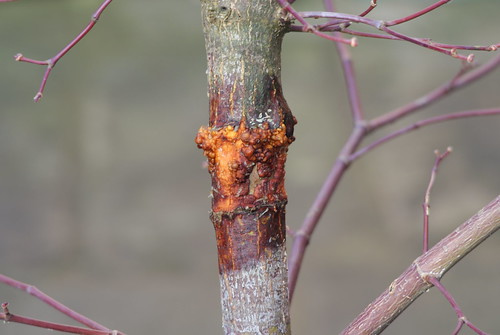
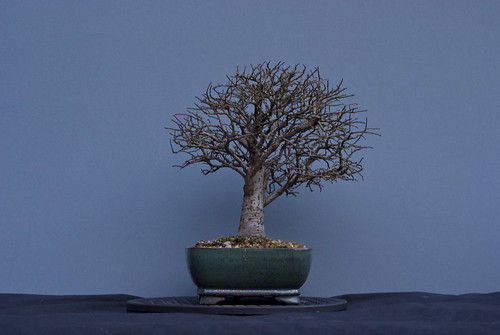
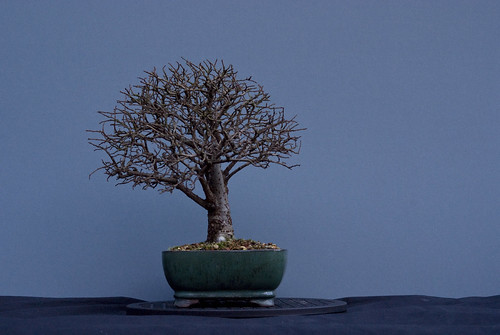
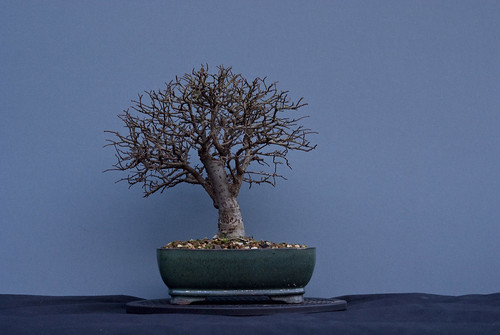
So today I had a look at a maple of mine which I tried (and failed) to air-layer last year. I think the reason for the failure being not all of the cambium layer was removed when trying to set it up. So with Spring approaching I thought I would prepare the tree to be layered again around the same spot. I took the plastic off covering the first layer to have a look. It was still covered in the half-healed callus material and generally looked a bit of a mess!
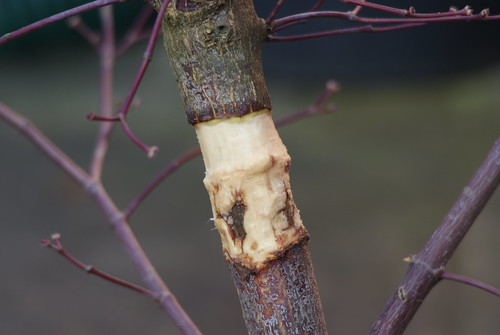
After surveying the damage, I set to work on cleaning it up with a pruning knife. I scraped away at the scarring and growth to take it back to the wood as much as I could. Once I was convinced I had taken enough off, I starting making a new layer site directly above the old failed one. This time I ensured that I removed all of the cambium layer and took it back to the heart wood.
You can see the new site directly above the old in the picture. I made sure it was a clean cut at the edge of the bark and cambium to maximise the chance of success. At this point in the first layer I then applied rooting hormone to the top edge of the cut area. This time round I skipped this step, as I am unsure as to the effectiveness of hormone. The hormone I have is also quite old and I didn't want this to be another possible reason for failure.
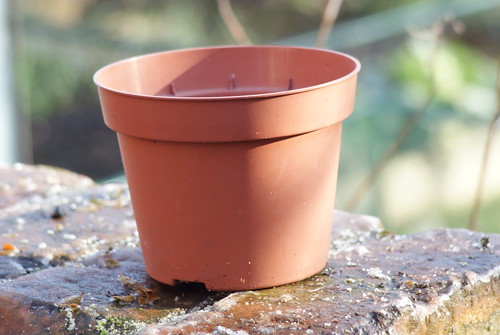
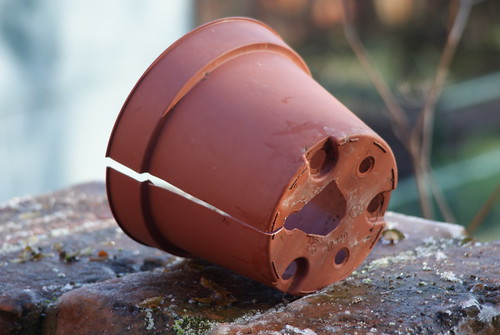
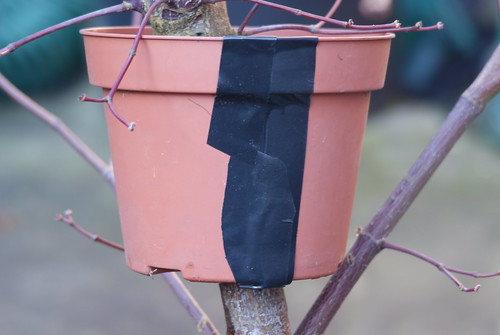
The first time round I used the plastic bag method of covering the layer site and holding the sphagnum moss in place. This time I opted for the split-pot approach which in hindsight was a lot easier to do and also provides more space for the roots to grow. I prepared the pot in the following way -
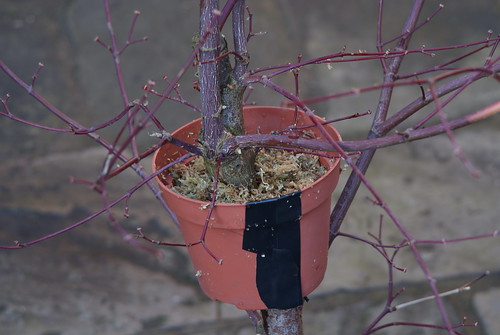
The pot was split down one side, and a small section of the bottom taken out so it would fit around the trunk of the tree. The pot was then placed around the tree and the split side taped up.
The pot was then filled with sphagnum moss which had been soaked in water prior to this.
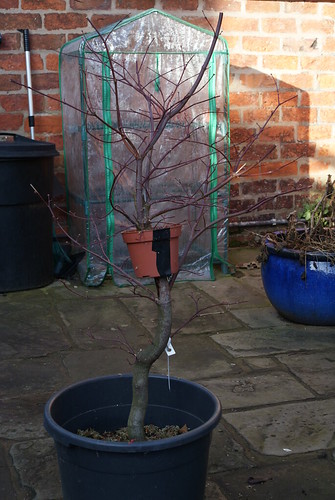
With this completed, the tree can sit inside the greenhouse until all threat of frosts has passed at which time it will go back outside. Hopefully this time the layer will have some success, I will leave it on probably until late summer, just checking periodically to see if the moss needs water.